Auto-Locking Drawers
One of the biggest issues with my van build has been the drawers flying open while driving. I tried magnetic catches (too weak for heavy drawers), physical latches (vibrated open on bumpy roads), and manual latches (I’d forget to latch them). Then I found a solenoid door latch — the perfect solution. I could integrate it with Home Assistant and program it to lock automatically.
What you’ll need
Section titled “What you’ll need”- Solenoid Door Latch — This was the only one I found that met all my requirements: 12V, unlocked when unpowered, door-style latch (not a cylinder), and relatively low power.
- Other electronics — An ESP32 or ESP8266 (or the Raspberry Pi), plus an N-Channel MOSFET, diode, and resistor.
How a solenoid works
Section titled “How a solenoid works”A solenoid converts electrical current into linear motion using a wire coil with a plunger in the middle. Current through the coil creates a magnetic field that pushes the plunger. When current stops, a spring pulls it back.
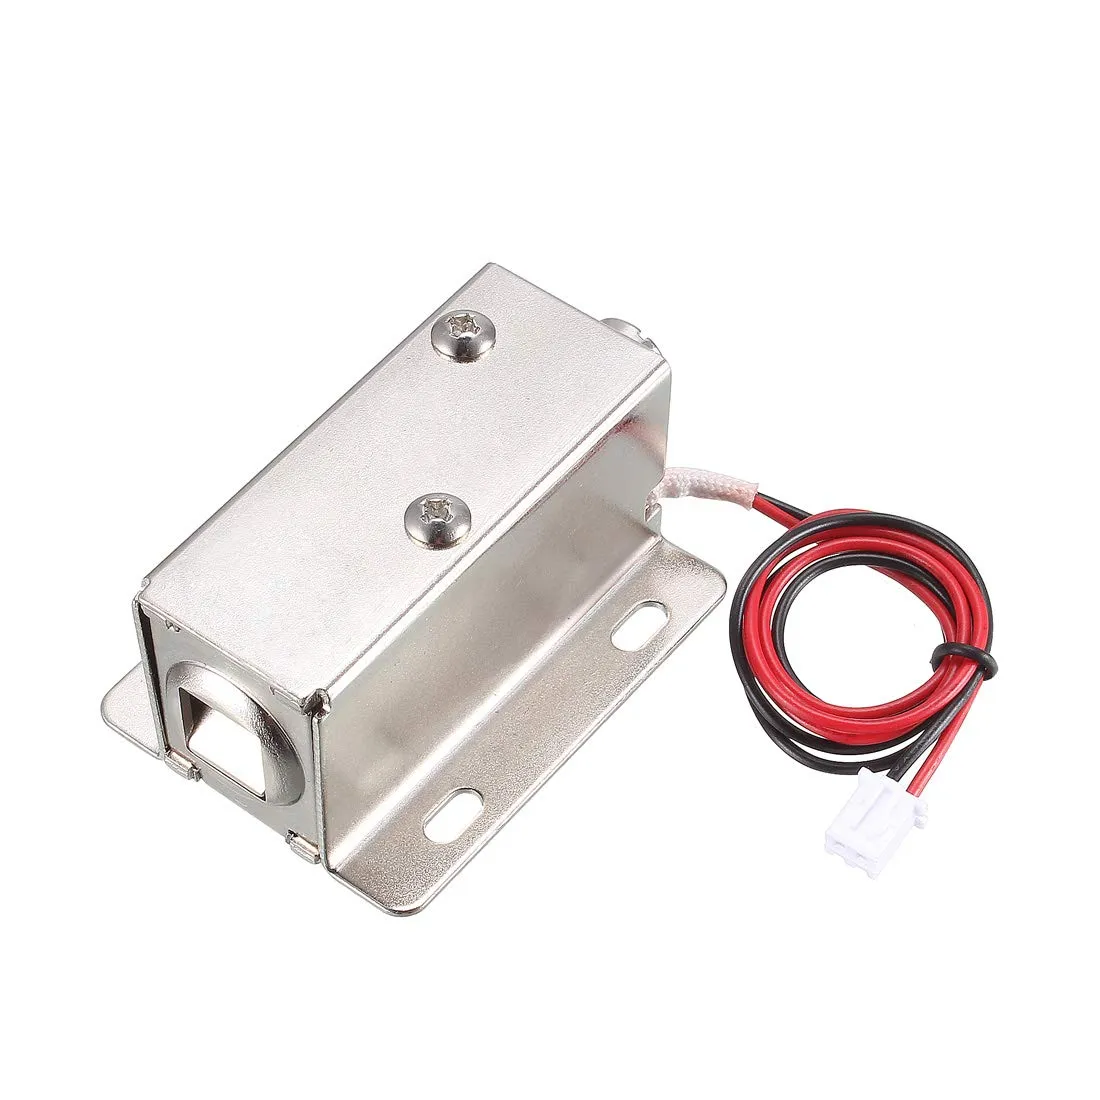
This solenoid runs on 12V, draws 0.3A when powered, and is unlocked when unpowered — important because most solenoids I found were the opposite.
The circuit
Section titled “The circuit”The circuit is nearly identical to the light control circuit:
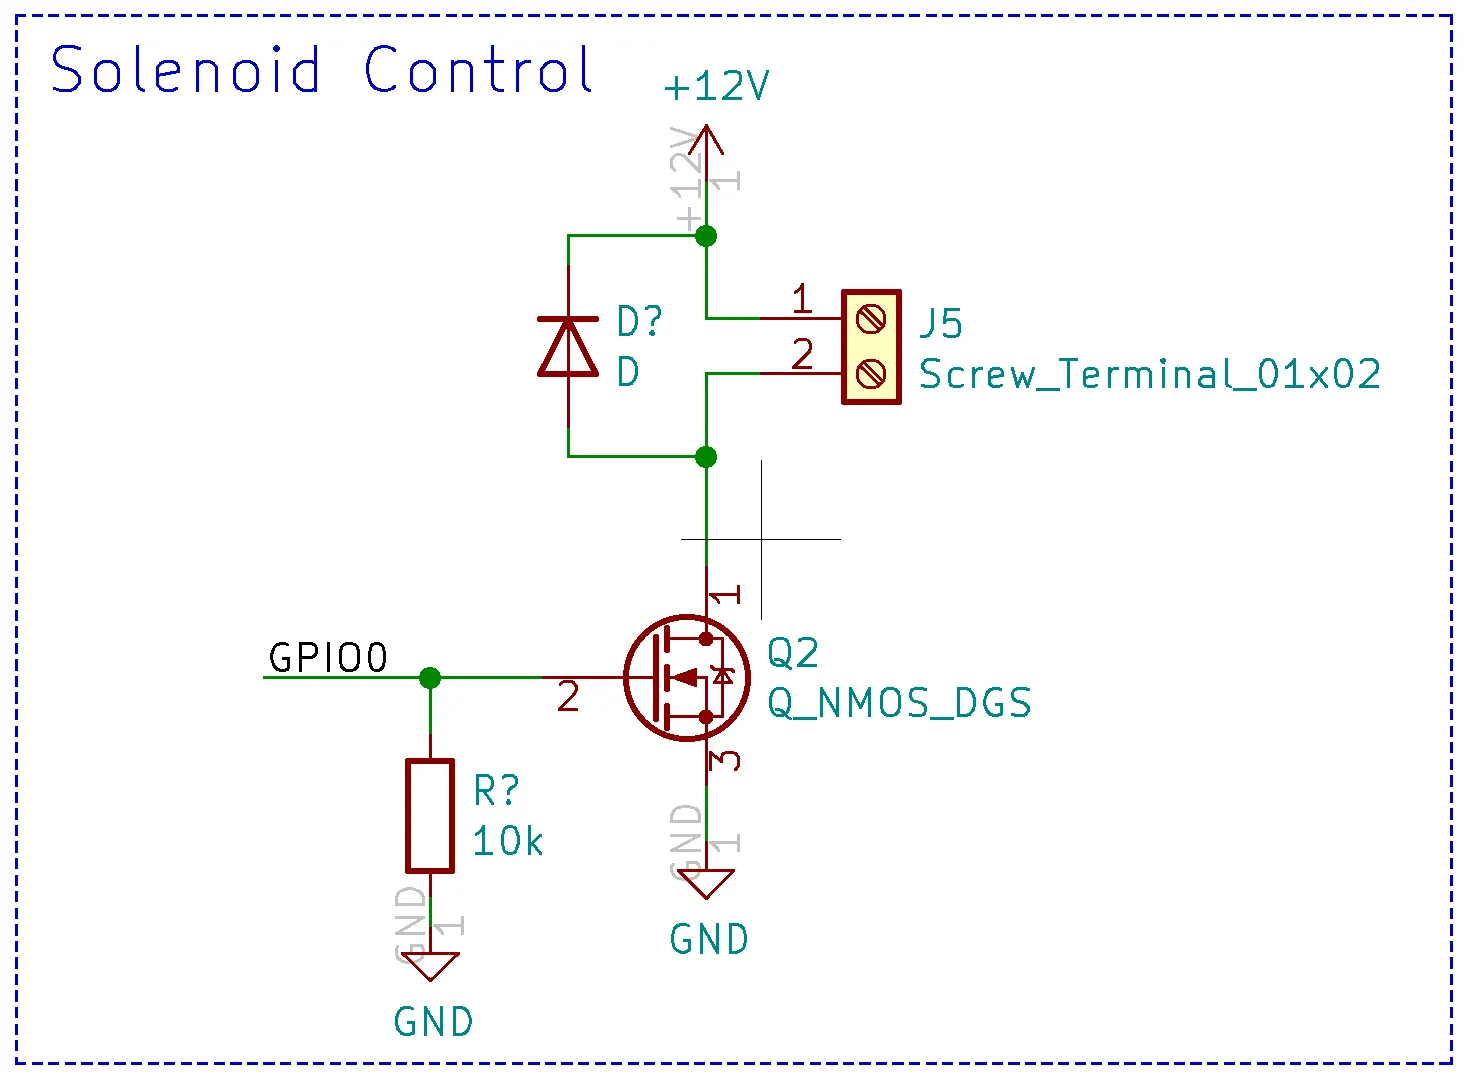
A GPIO pin from the ESP32 switches an N-Channel MOSFET, which controls current through the solenoid connected at J5. Key components:
- 10kΩ pull-down resistor on the GPIO pin — keeps the solenoid off when the GPIO is unconfigured.
- Flyback diode across the solenoid — the solenoid is an inductor and resists instantaneous current changes. When the MOSFET turns off, current continues briefly and without a path would cause a voltage spike. The diode provides a return path and clamps the spike.
Step 1 — Wire it up
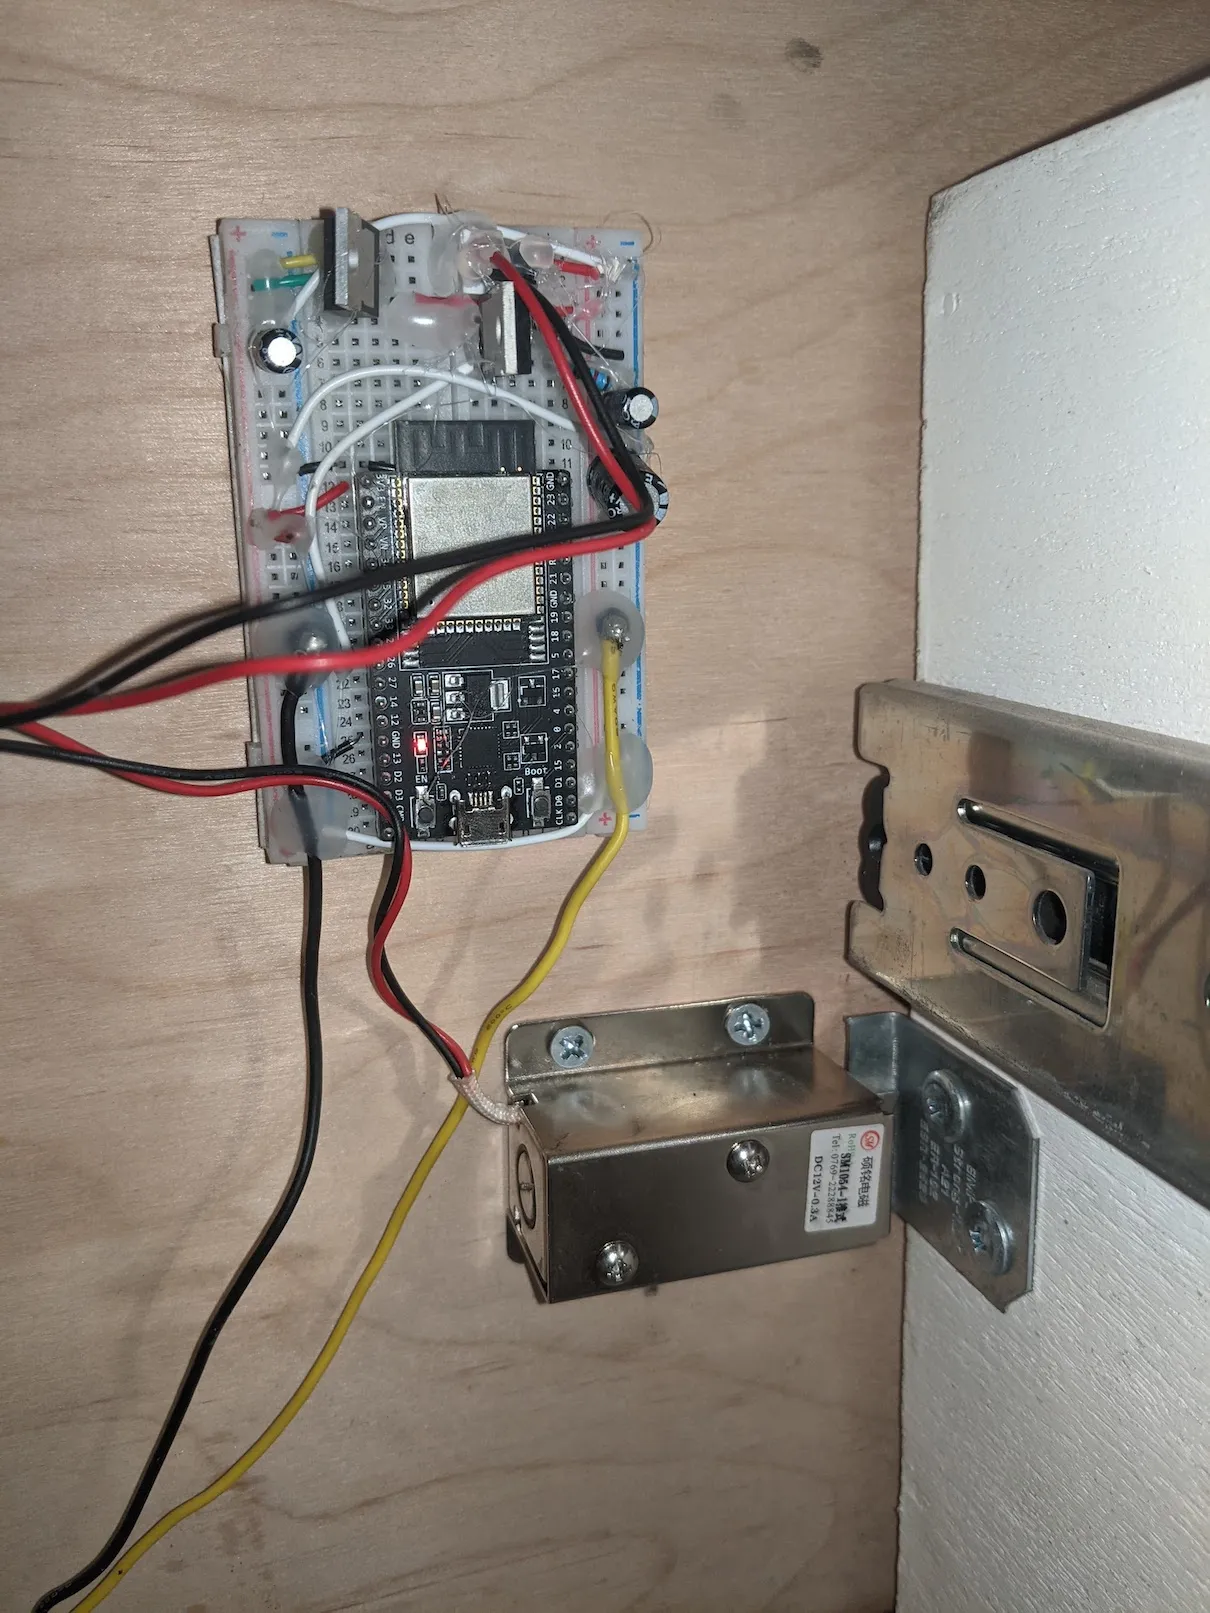
Section titled “Step 1 — Wire it up”I built the circuit on a breadboard with an ESP32 development board (I plan to design a PCB eventually) and rigged up the latch on my most problematic drawer:
Step 2 — Configure ESPHome
Section titled “Step 2 — Configure ESPHome”The ESPHome config for the solenoid is simple — just a GPIO output switch:
switch: - platform: gpio pin: 26 name: "Solenoid"With the ESP32 programmed, I can now control the solenoid from Home Assistant:

Step 3 — Detect the ignition
Section titled “Step 3 — Detect the ignition”This solved the manual control problem, but I still wanted the drawer to lock automatically while driving. My solution: detect the ignition signal.
I had already tapped into an ignition wire in the van for the DC-DC charger. Using a multimeter I found it reads 0V when off and ~14.3V when on — a clean discrete signal. The 14.3V is too high for the Raspberry Pi GPIO pins, so I added a MOSFET voltage step-down circuit:
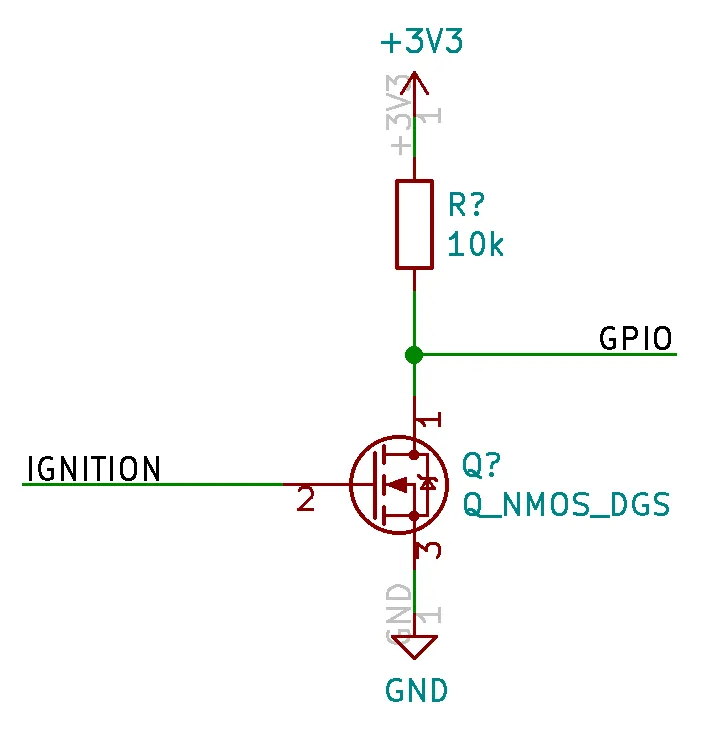
This steps down the voltage so the GPIO pin never sees more than 3.3V. It also inverts the signal, so the pin reads 1 when the van is off and 0 when it’s on.
Step 4 — Add the ignition sensor to Home Assistant
Section titled “Step 4 — Add the ignition sensor to Home Assistant”Add a binary sensor to configuration.yaml:
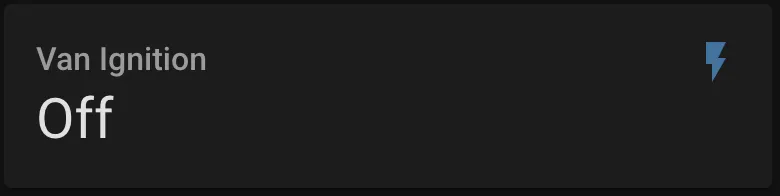
binary_sensor: - platform: rpi_gpio ports: 26: Van Ignition invert_logic: trueThis sets up the sensor on GPIO 26 and re-inverts the signal. After restarting Home Assistant you’ll have the ignition state as a sensor:
Step 5 — Create automations
Section titled “Step 5 — Create automations”Create automations to lock and unlock automatically. Go to Configuration → Automations.
Lock automation trigger (fires when ignition turns on):
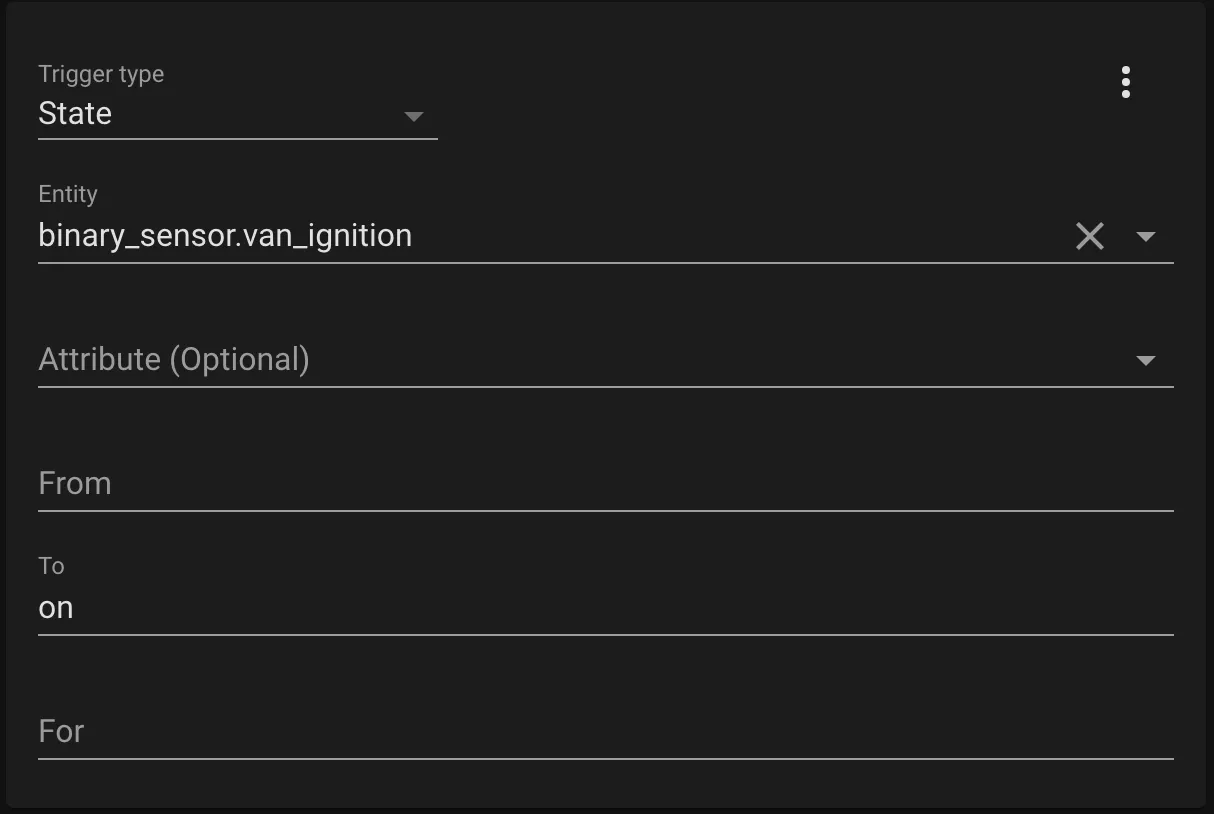
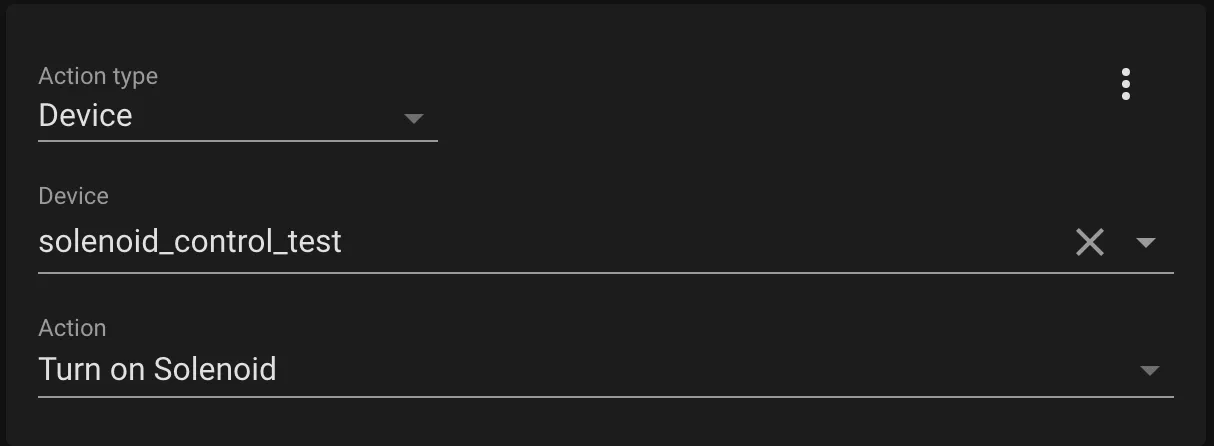
Lock automation action (turns solenoid on):
Create a second automation with the reverse — trigger when ignition turns off, action to turn the solenoid off.
With the automations set up, Home Assistant automatically locks the drawer when the van starts and unlocks it when turned off. I can hear the satisfying click of the solenoid every time I start the van!